Ubiquiti Everything!
TLDR: After upgrading to a 500 Mb/s internet plan and still seeing sluggish Wi Fi, odd latency spikes, and an overall messy topology left behind by the ISP technician, I decided to rebuild my entire home network with Ubiquiti gear. In this post I explain why the old setup bottlenecked everything, how I redesigned the wiring and Wi Fi layout, and how VLANs, proper AP placement, and UniFi's security and monitoring tools finally gave me the speed and stability I was paying for. I walk through the equipment choices, configuration steps, performance results, and the challenges I hit along the way so you can see exactly what worked and what did not in the process.
Introduction
After upgrading my home internet plan from 300 Mb/s to 500 Mb/s, I realized that the ISP provided equipment was not letting me take full advantage of the bandwidth. My Wi Fi throughput stayed at around 260 Mb/s (WTFF!), and I noticed latency spikes whenever too many devices were connected.
I thought, why am I paying $200 for this piece of junk router, I also took a look at how the technician set up our internet and realized it was very inefficient and very much a bandaid solution. Being a fan of Ubiquiti, I decided it was time to upgrade. This post goes over my reasoning, configuration, and what did and did not work.
Purpose
Although my ISP gateway and repeater performed adequately, they were not optimized and the lack of support for newer Wi Fi standards plus a spotty connection led me to an upgrade. Wi Fi speeds lagged behind, and even wired connections suffered when too many devices saturated the network.
In a typical day there are roughly fifteen devices hanging off this network: 6 cellphones, 2 TVs, 1 Android TV box, 1 Optik TV client, and 6 laptops. On top of that I self host applications that I want properly segmented from everyday client devices. Security matters here because my ISP enables traffic monitoring by default and I want the ability to obscure my traffic and enforce VLAN based isolation. The two big priorities for this rebuild were to get every bit of speed I am paying for and to harden the network layout at the same time.
The goal was simple:
- Get what I paid for. Fully utilize the 500 Mb/s connection
- Improve Wi Fi coverage and latency
- Have fun and configure enterprise grade features like VLANs, IDS or IPS, and more granular control
This journey led me to design and implement my own network using Ubiquiti UniFi equipment.
Topology
Old Network Design
Before the upgrade, there were two main issues:
- The technician only ran 1x CAT5 cable to the front by accident, and sent the signal back for the router via MoCA which added overhead that was not needed
- Due to the length of our house and the location of the APs, near the middle of the house the connection was horrible and I had to switch networks when moving through our house
The house itself is a long front to back layout with a basement or floor unit. The technician originally ran a single CAT5 line about 30 ft along the outside of the house to the front door, then used MoCA to push the signal back again toward the rear. In practice that meant traffic often had to go from the back of the house to the front and then back again before it reached some clients, which added extra hops and overhead for no good reason.
This daisy chained setup caused:
- Signal degradation over MoCA
- Increased latency from the repeater hop
- Uneven coverage across rooms
- Constantly changing Wi Fi networks
New Network Design
 Click to zoom
In the new design, I completely removed the repeater and kept everything on copper instead of MoCA.
Click to zoom
In the new design, I completely removed the repeater and kept everything on copper instead of MoCA.
The T3200 gateway still lives at the rear of the house because the ISP uses it as the NVR and control point for Optik TV. I created a dedicated pass through VLAN so it can talk to the Optik TV client without interfering with my UniFi network. The gateway feeds a UniFi switch at the front of the house over that single CAT5 run, and from there I fan out to the access points and wired clients.
The UAP AC Pro is ceiling mounted at the back of the house and powered by a PoE injector, while the UAP nanoHD is mounted behind the TV at the front of the house and powered by the PoE switch. That front and back placement covers the full length of the house without needing any repeaters.
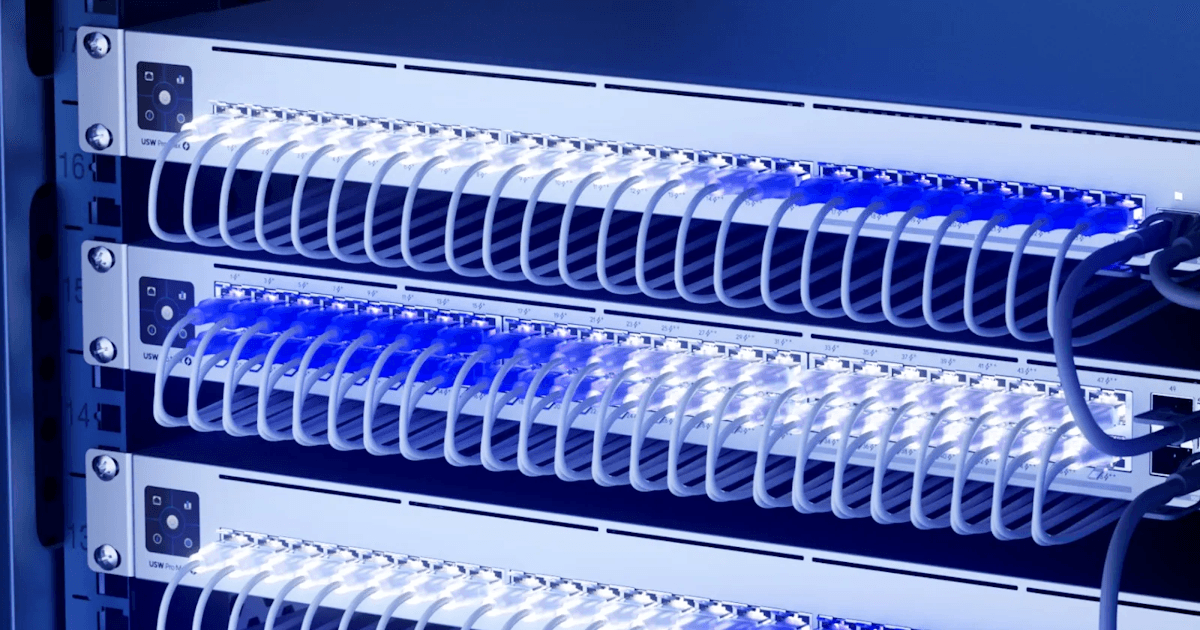
Equipment
My choice of hardware came down to two factors:
- Make it cheap
- Make it easy to manage and control
Being a fan of Ubiquiti, I decided now was the perfect time. Ubiquiti gear is relatively inexpensive for the features you get and it is clearly built for power users. I spent the next two months low balling and messaging sellers on Facebook Marketplace. I brought a PoE adapter with me when meeting sellers so I could at least power on devices and see them light up, even though I could not fully test them on site. Thankfully everyone was honest and everything worked once I got it home. Eventually I had the following stack:
| Device | Description | Cost (CAD) | | -------------- | ------------------------------------------------------------------------------------------------------------------------------------------------------- | -------------- | | UCG Ultra | A compact, all in one console that can run UniFi Network and manage over 300 clients and 50 plus UniFi devices. Offers scalability and a unified interface. | $120 | | US 8 60W | Replaced a Netgear GS110TP for full UniFi integration. Supports VLANs, PoE, and central management via UniFi controller. | $60 | | UAP AC Pro | Dual band access point with strong coverage, ideal for large spaces and seamless UniFi management. | $50 | | UAP nanoHD | Compact high performance AP suitable for dense client environments. Seamlessly integrates with UniFi. | $50 | | U POE af | A simple Gigabit PoE injector used to power an AP without needing new cable runs. | $5 |
Total Cost: $285
Just replacing the ISP provided router would have cost $220, so I think I got a pretty good bargain.
Configuration
Configuring the Ubiquiti stack involved several key steps:
- WAN and ISP router handling: The ISP gateway (T3200) had to stay because Optik TV uses it as an NVR and control point. Instead of letting it run the whole network, I carved out a dedicated pass through path inside UniFi. The T3200 lives at the back of the house and stays connected to my Optik TV client via a dedicated VLAN that simply bridges a port on the back to a port at the front. The UniFi router handles normal internet traffic, while the original gateway is only responsible for TV.
- VLAN setup: Created separate VLANs for main, IoT, guest, management, TELUS, and pass through networks so traffic can be segmented and secured properly.
- IDS or IPS: Enabled UniFi built in intrusion detection and prevention for added security.
- DHCP and DNS: Moved these services to the UCG Ultra for centralized control.
- AP optimization: Tuned transmit power, minimum RSSI, and channel selection to eliminate overlap and improve signal distribution.
By default the network security posture inside UniFi is allow all, with most of the isolation handled by VLAN design and targeted rules between those networks.
VLANs
To keep things organized and easy to secure, I split the network into several VLANs:
| Name | VLAN ID | Router | Subnet | DHCP | IP Leases | Pool Size | Available | Excluded | DHCP Range | | ------------ | ------- | ------ | ------------ | ------ | --------- | --------- | --------- | -------- | ------------------------ | | Default | 1 | Home | 10.0.0.0/24 | Server | 7 | 249 | 242 | 0 | 10.0.0.6 - 10.0.0.254 | | Pass Through | 2 | Home | 10.0.2.0/24 | Server | 1 | 249 | 248 | 0 | 10.0.2.6 - 10.0.2.254 | | IoT | 20 | Home | 10.0.20.0/24 | Server | 0 | 51 | 51 | 0 | 10.0.20.50 - 10.0.20.100 | | Secure | 40 | Home | 10.0.40.0/28 | None | - | - | - | - | - | | MGMT | 99 | Home | 10.0.99.0/24 | Server | 0 | 49 | 49 | 0 | 10.0.99.2 - 10.0.99.50 | | Guest | 30 | Home | 10.0.30.0/24 | Server | 0 | 101 | 101 | 0 | 10.0.30.50 - 10.0.30.150 | | TELUS | 10 | Home | 10.0.10.0/24 | Server | 0 | 101 | 101 | 0 | 10.0.10.100 - 10.0.10.200 |
- Default is for everyday trusted devices.
- IoT keeps smart devices away from laptops and phones.
- Guest gives visitors internet without exposing the rest of the LAN.
- MGMT is reserved for UniFi and other management interfaces.
- Secure is a small subnet for services that need extra isolation.
- Pass Through and TELUS exist purely to support the ISP hardware and Optik TV service without dragging the rest of the setup back into double NAT.
Multicast and service discovery
To make sure things like Chromecasts, printers, and the Optik TV box work across VLANs without flattening everything into a single broadcast domain, I tuned the multicast and mDNS settings:
- Gateway mDNS proxy: Custom
- VLAN scope: IoT (20) and TELUS (10)
- Service scope: Specific, including Amazon devices, Apple AirPlay, Chromecast, FTP, printers, scanners, Spotify, SSH, Time Capsule, and Samba
- IGMP snooping: Enabled on the IoT and TELUS VLANs
- Forward unknown multicast traffic: Multicast router ports only
- Flood known protocols: Enabled
- Fast leave: Enabled
- IGMP querier VLANs: IoT
This keeps multicast chatty enough for TV and casting to work without turning the whole switch fabric into a giant flood zone.
Switch and Wi Fi tuning
On the switching side I kept things fairly conservative:
- Spanning Tree Protocol: RSTP
- Rogue DHCP server detection: Disabled for now
- Jumbo frames: Disabled
- 802.1X control: Disabled
- L3 network isolation ACLs: Disabled while I finalize the layout
- Device isolation ACLs: Disabled for now
For Wi Fi, I made a few key changes:
-
Lowered 2.4 GHz transmit power so that clients do not cling to it when a stronger 5 GHz signal is available
-
Let UniFi automatically pick the best channels for each AP
-
Set a minimum RSSI so that devices roam more aggressively as you walk through the house instead of hanging onto a weak AP
Performance Results
After completing the new network setup, I conducted several tests to measure performance improvements. To validate the new layout I used UniFi WiFiman and Fast.com. One room over from the access point I was able to hit around 500 Mb/s over Wi Fi with multiple clients active at the same time, including a Fire TV Stick, a phone, and a laptop. The table below summarizes the before and after numbers across both wireless and wired tests.
| Test Type | Old Network | New Network | Notes | | ------------------------------------ | -------------------- | ------------------------------ | ------------------------------------------------ | | Wi Fi Speed (Average) | ~260 Mb/s | 480 Mb/s | Achieved consistent speeds across multiple rooms | | Ethernet Throughput | 430 Mb/s | 505 Mb/s | Nearly full utilization of ISP plan | | Ping (LAN to WAN) | 25 ms (avg) | 9 ms | Latency reduced significantly under load | | Latency Under Load (Bufferbloat) | Severe spikes | None | QoS and VLAN segmentation stabilized network | | Wi Fi Coverage (Signal dBm) | -78 dBm (weak spots) | -60 dBm | Uniform coverage with nanoHD placement | | Device Roaming | Inconsistent | Seamless handoff between APs | No dropouts during movement through house |
Overall, the Ubiquiti setup not only improved performance but also created a more stable and reliable network. Monitoring via the UniFi Network dashboard shows consistent throughput and low latency even during peak hours.
Challenges and Lessons Learned
| Challenge | Solution | | ------------------------------------ | ------------------------------------------------------------------------------------- | | ISP gateway dependency (NVR) | Custom configuration to maintain NVR functionality while keeping the ISP router scoped to TV only. | | Double NAT and migration headaches | Moving from the old network to the new one caused more issues than expected, especially with already configured IoT gear. In hindsight it would have been easier to build a brand new network from scratch instead of trying to preserve parts of the old layout. The full migration took three weekends, mostly done overnight or when nobody was home. | | Cable management and PoE runs | Used existing wiring with PoE injectors to minimize drilling and re routing. | | VLAN isolation for IoT devices | Created dedicated VLANs and applied firewall rules to restrict access. | | Throughput optimization | Disabled unnecessary services, optimized MTU, and fine tuned UniFi AP transmit power. | | Monitoring and metrics | Leveraged UniFi dashboard for latency tracking and device level insights. |
One of the biggest lessons was how much AP placement matters. I spent a lot of time experimenting with locations before settling on the current back ceiling plus front TV wall layout. Being able to tweak transmit power, channels, and minimum RSSI in UniFi made a big difference to roaming and coverage throughout the house.
This project taught me that home networking benefits a lot from enterprise style principles. Segmentation, centralized management, and proper monitoring go a long way in maintaining a fast and secure network.
Conclusion
With the Ubiquiti based setup, I have finally achieved the performance I wanted from my 500 Mb/s plan. Wi Fi throughput now consistently exceeds 480 Mb/s, latency spikes have been reduced, and I have complete visibility and control over my network.
Next steps include adding some future improvements such as UPS integration, firewall automation, or a more advanced remote monitoring setup.
Building this network was as much a learning experience as a performance upgrade, and I highly recommend anyone dealing with similar limitations from their ISP provided hardware to consider taking the plunge into custom networking.
Related posts
Bepo: My Homelab Setup
A look at my homelab setup: server specs, network configuration, storage strategy, virtualization with KVM/libvirt, and extensive suite of self-hosted services.
Evolution of Malware Evasion
A comprehensive analysis of how malware evasion techniques have evolved over the past decade, revealing patterns in attacker behavior, defender responses, and the accelerating arms race in cybersecurity.
Hardening Your Online Presence
Understanding privacy to maintain a minimal presence online through obscurity.